


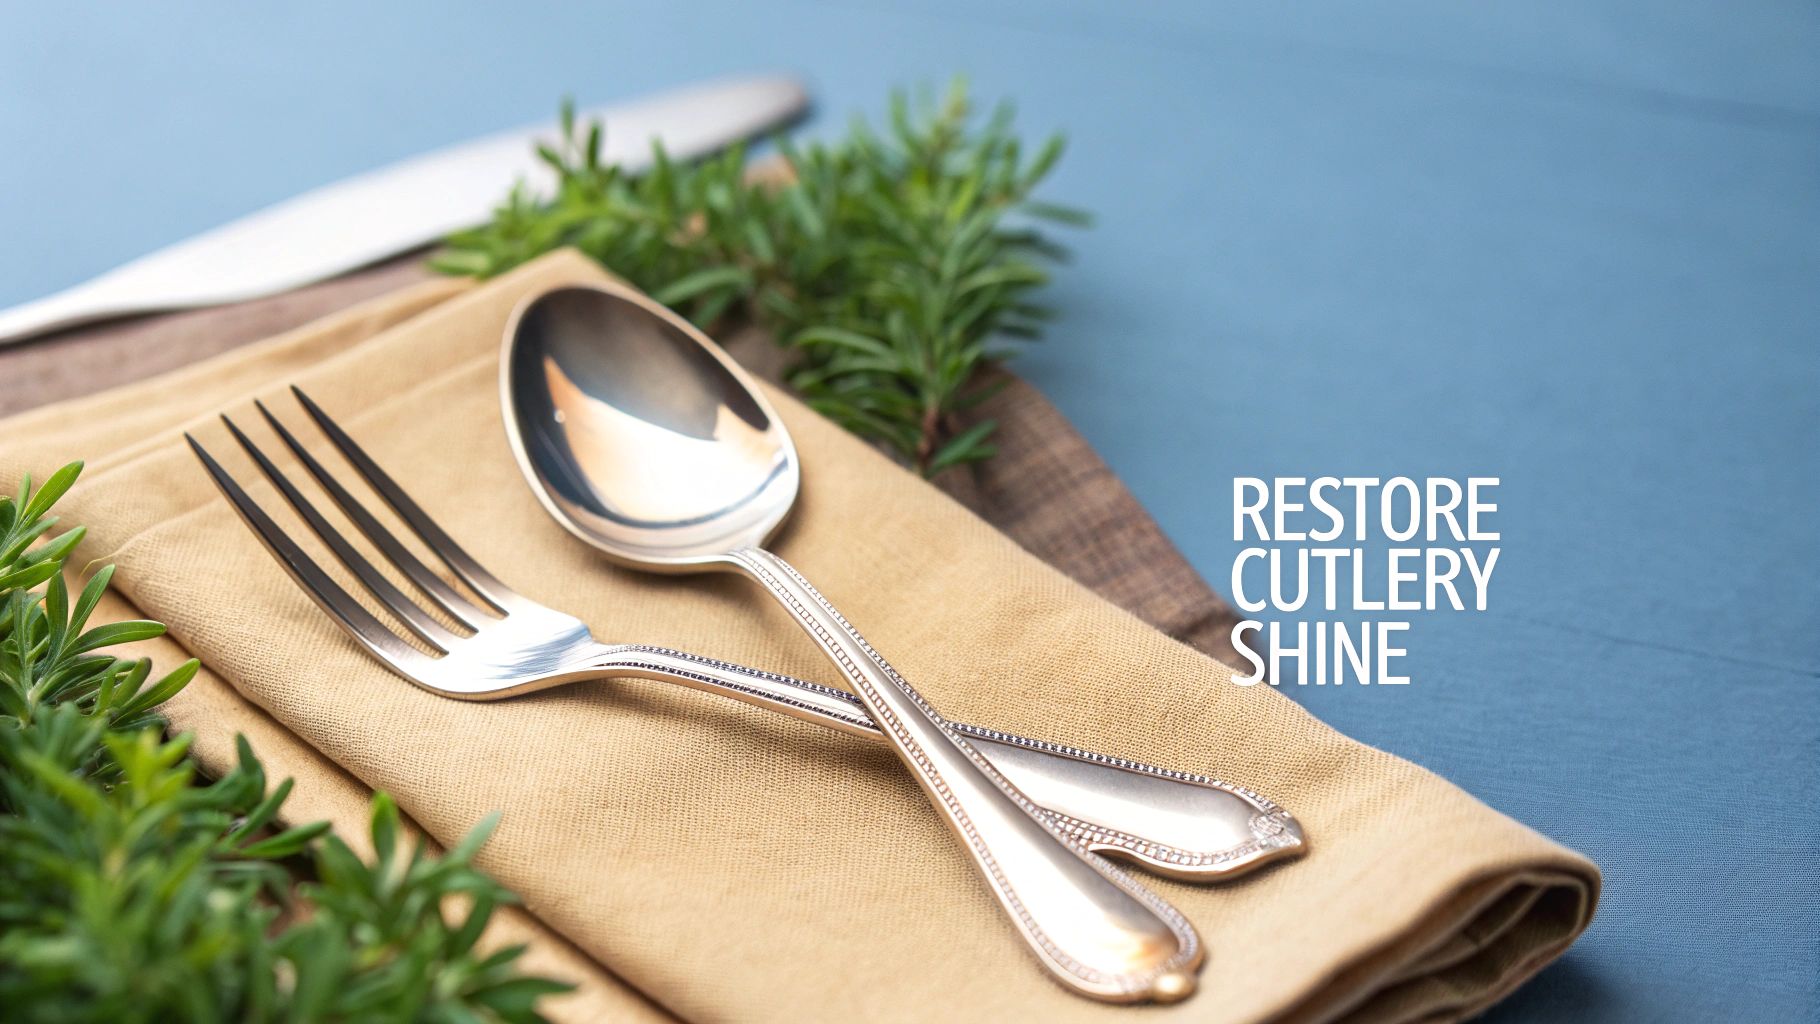
Using the right stainless steel polish is the secret to transforming dull, everyday cutlery into a gleaming, heirloom-quality collection. It goes far beyond simple washing, actively removing minor blemishes and creating a protective barrier that keeps that brilliant, just-unboxed shine for years to come.
Bringing Back the Brilliance to Your Cutlery
Here at Lincoln House Cutlery, with over 50 years of experience curating fine tableware, we know that proper care is the true key to a lasting investment. This guide gets into the specifics of polishing, showing you how a little attention to detail can protect and enhance your favourite pieces.
Polishing is the best way to prevent the gradual dullness, fingerprints, and water spots that can plague even the highest quality 18/10 stainless steel. Think of it as a restorative process that brings back the original lustre that first caught your eye.
Why Polishing Is More Than Just Cleaning
Simple washing removes food and oils, but a dedicated polish works on a much deeper level. It’s like a conditioning treatment for your cutlery, tackling the subtle surface issues that soap and water just can't shift. This ensures a uniform and reflective finish across every piece.
This is especially important for complete sets, like a 12-place setting from makers such as Arthur Price, where consistency is everything.
The need for quality maintenance products is significant. In the UK alone, demand for stainless steel reached approximately 280,000 tonnes in 2021, a figure that shows just how many surfaces rely on proper care to stay looking their best. For specialists like us, offering the correct polish is vital for the collectors and homeowners who trust us with their premium cutlery collections. You can read more about the importance of stainless steel in the UK economy to understand the full picture.
For an impeccable table setting, the goal is not just cleanliness but a radiant, uniform shine across every piece. A quality stainless steel polish is the tool that closes that gap, turning functional items into decorative highlights.
This guide provides a practical, hands-on approach. We want to give you the confidence to achieve professional results at home, ensuring your forks, knives, and spoons always look their absolute best.
Choosing the Right Polishing Tools and Materials
Before you even begin to buff, success starts with gathering the right supplies. Just as a chef needs the proper knives, getting that flawless shine on your stainless steel cutlery depends entirely on selecting the best tools for the job. Your choice between a specialised commercial polish and a gentle household alternative will really shape the final result.
Many people reach for what’s already in their kitchen cupboards, and for good reason. Simple, non-toxic solutions can be surprisingly effective for routine maintenance. A paste made from baking soda and a bit of water, for instance, offers a mild abrasive quality that’s perfect for lifting minor stains without scratching the surface. In the same way, a splash of white vinegar on a cloth can make short work of hard water spots.
However, for a deeper, more restorative shine or to tackle years of accumulated dullness, a purpose-made stainless steel polish is almost always the better choice.
Commercial Polish vs. Household Alternatives
When it comes to polishing your cutlery, you have two main routes: dedicated commercial products or simple solutions you can whip up at home. Each has its place, depending on the condition of your cutlery and the finish you're hoping to achieve.
We've put together a quick comparison to help you decide which approach is right for your needs.
| Polishing Agent | Best For | Pros | Cons |
|---|---|---|---|
| Commercial Polish | Deep restoration, removing fine scratches, and long-lasting protection. | Delivers a consistent, brilliant shine; often contains protective agents. | Requires purchasing a specific product; must be verified as food-safe. |
| Baking Soda & Water | Light stain removal and general brightening. | Inexpensive, readily available, and gentle on the steel surface. | May not achieve the same high-gloss finish as a commercial polish. |
| White Vinegar | Dissolving hard water spots and removing mineral deposits. | Natural, effective for specific blemishes, and disinfects surfaces. | Can have a strong odour; not designed for deep polishing or protection. |
| Olive Oil | A final, light buffing step to enhance shine and add a protective layer. | Adds a temporary lustre and helps repel water spots. | Can feel greasy if over-applied and doesn't offer long-term benefits. |
Ultimately, if you’re dealing with stubborn marks or want that truly uniform, showroom gleam across a whole set, a quality commercial polish is the way to go. For day-to-day upkeep and tackling minor blemishes, household staples are perfectly up to the task.
When you do opt for a commercial product, always prioritise food-safe and non-abrasive formulas. Since you're treating items that come into direct contact with food, safety is paramount. Look for polishes specifically designed for cutlery or kitchenware, and steer clear of industrial cleaners which can contain harsh chemicals.
These specialist products often contain fine polishing agents that homemade solutions lack. They don’t just clean; they can leave behind a microscopic barrier that helps repel fingerprints and water spots, keeping your cutlery gleaming for longer.
The real advantage of a professional-grade polish is its ability to deliver a consistent, high-lustre finish across an entire collection. This uniformity is what elevates a well-maintained set into a truly stunning display.
Regardless of your chosen polish, one tool is non-negotiable: a set of soft, clean microfibre cloths. These are absolutely essential for preventing the fine scratches that cotton cloths or paper towels can easily leave behind. Their unique weave is brilliant at trapping polish residue and buffing the steel to a streak-free shine without shedding lint.
The Crucial First Step Before Polishing
Before you even think about applying polish, your cutlery must be perfectly clean. Trying to polish dirty items simply grinds grease and tiny food particles into the surface, which is a surefire way to cause scratches and end up with a cloudy finish.
Start by hand-washing each piece in warm, soapy water. Use a soft sponge or cloth to gently remove any and all residue.
Once washed and rinsed, the next part is critical: dry every item immediately and completely with a clean microfibre or soft cotton towel. Air-drying is the number one cause of those pesky water spots, which will only get in the way of the polishing process and undo all your hard work. This perfectly clean, dry surface is the ideal canvas for achieving a flawless, lasting shine.
The Polishing Technique for a Flawless Finish
With your cutlery perfectly clean and dry, it's time to bring back that brilliant, mirror-like shine. This is where your technique really comes into play; the right motions and pressure will make all the difference between a good result and a flawless one. Think of this less as cleaning and more as conditioning the surface of the steel.
The single most important rule is to always work with the grain of the steel. On most cutlery, these are the faint, parallel lines running lengthwise along the handle and blade. Polishing against this grain can create a web of tiny scratches, dulling the very finish you're working so hard to achieve. Following the grain ensures a smooth, uniform surface that reflects light beautifully.
This quick flowchart breaks down the essential prep work before you even open your polish.
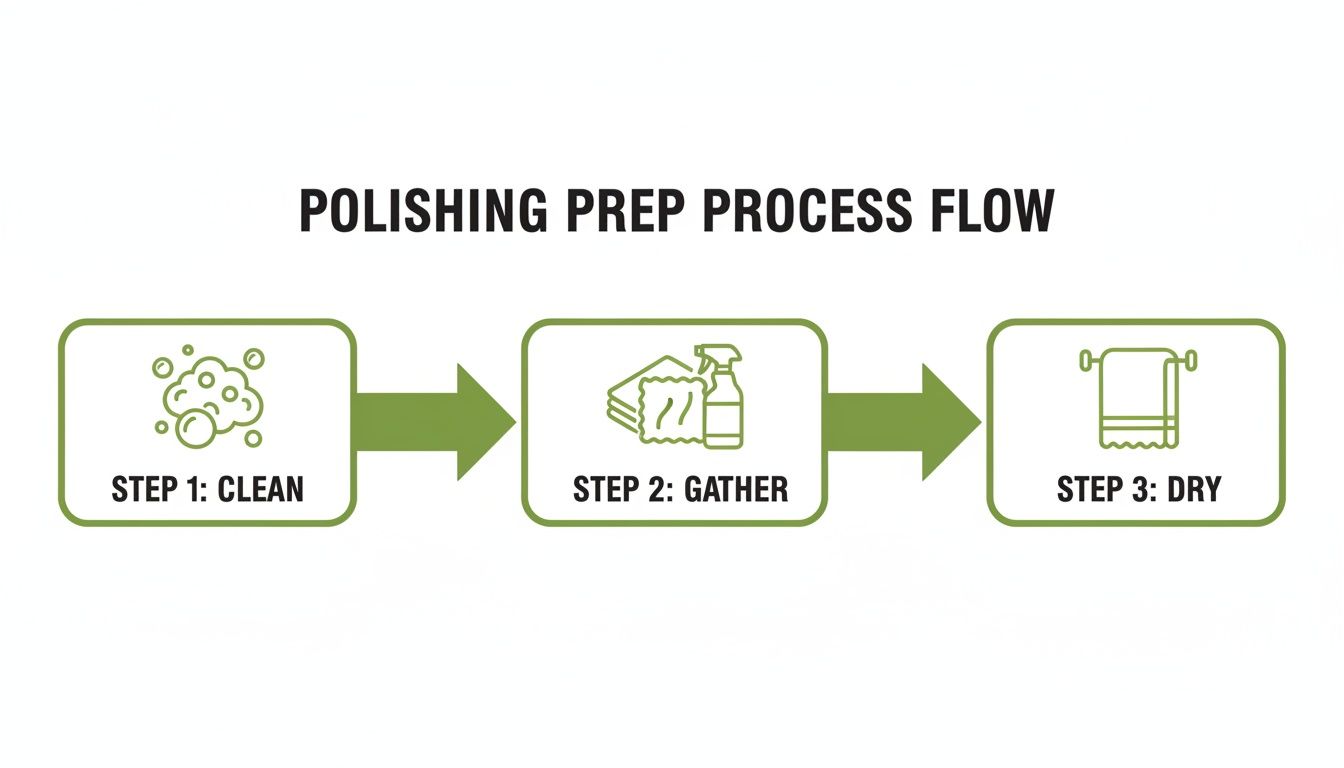
As you can see, proper cleaning and drying are non-negotiable first steps for getting that professional-looking gleam.
Applying and Buffing the Polish
When it comes to using a commercial stainless steel polish, remember that less is more. A small, pea-sized dab on a clean microfibre cloth is usually enough for two or three pieces of cutlery. Applying too much just creates more residue to buff away later, which makes the whole process harder than it needs to be.
Dot the polish onto your cloth, not directly onto the cutlery itself. This gives you much better control. Using firm, consistent pressure, rub the polish onto the surface in long, even strokes, always following the direction of the grain.
- For Forks: Pay close attention to the tricky areas between the tines. Fold your cloth to create a thin edge and gently work it into these tight spaces.
- For Spoons: Use a gentle, sweeping motion that follows the curve of the bowl to maintain its lovely reflective quality.
- For Knives: Focus on the blade, moving from the handle towards the tip in one continuous, smooth direction.
Taking proper care of stainless steel is becoming more popular. As the UK market grows, driven by everything from new construction to renewable energy, so does the demand for quality maintenance products. With the European market for stainless steel cleaners projected to grow from £218 million to over £262 million by 2025, the UK’s share shows a strong domestic interest in doing things right. You can discover more insights about the stainless steel polish market to see the full trend.
Revealing the Final Gleam
Once you’ve applied the polish, the next job is to buff it off to reveal the shine. Don’t let the polish dry completely on the surface, as this can make it a real chore to remove and may leave a hazy film behind.
Take a second, completely clean and dry microfibre cloth—this is crucial for a streak-free finish. Using the same principle of moving with the grain, buff the cutlery with light, brisk strokes. The goal here is to remove every last trace of polish residue.
Think of this final buffing stage like polishing a classic car. The initial application does the heavy lifting, but it’s the final, detailed buff that creates that deep, reflective lustre and removes any lingering haze.
You'll know you're finished when the surface feels completely smooth and slick to the touch, with no drag from any leftover product. Hold the piece up to the light; it should have a brilliant, even gleam without any streaks or cloudy patches. This meticulous process ensures your cutlery not only looks stunning but is also protected for its next use.
How to Handle Common Cutlery Blemishes
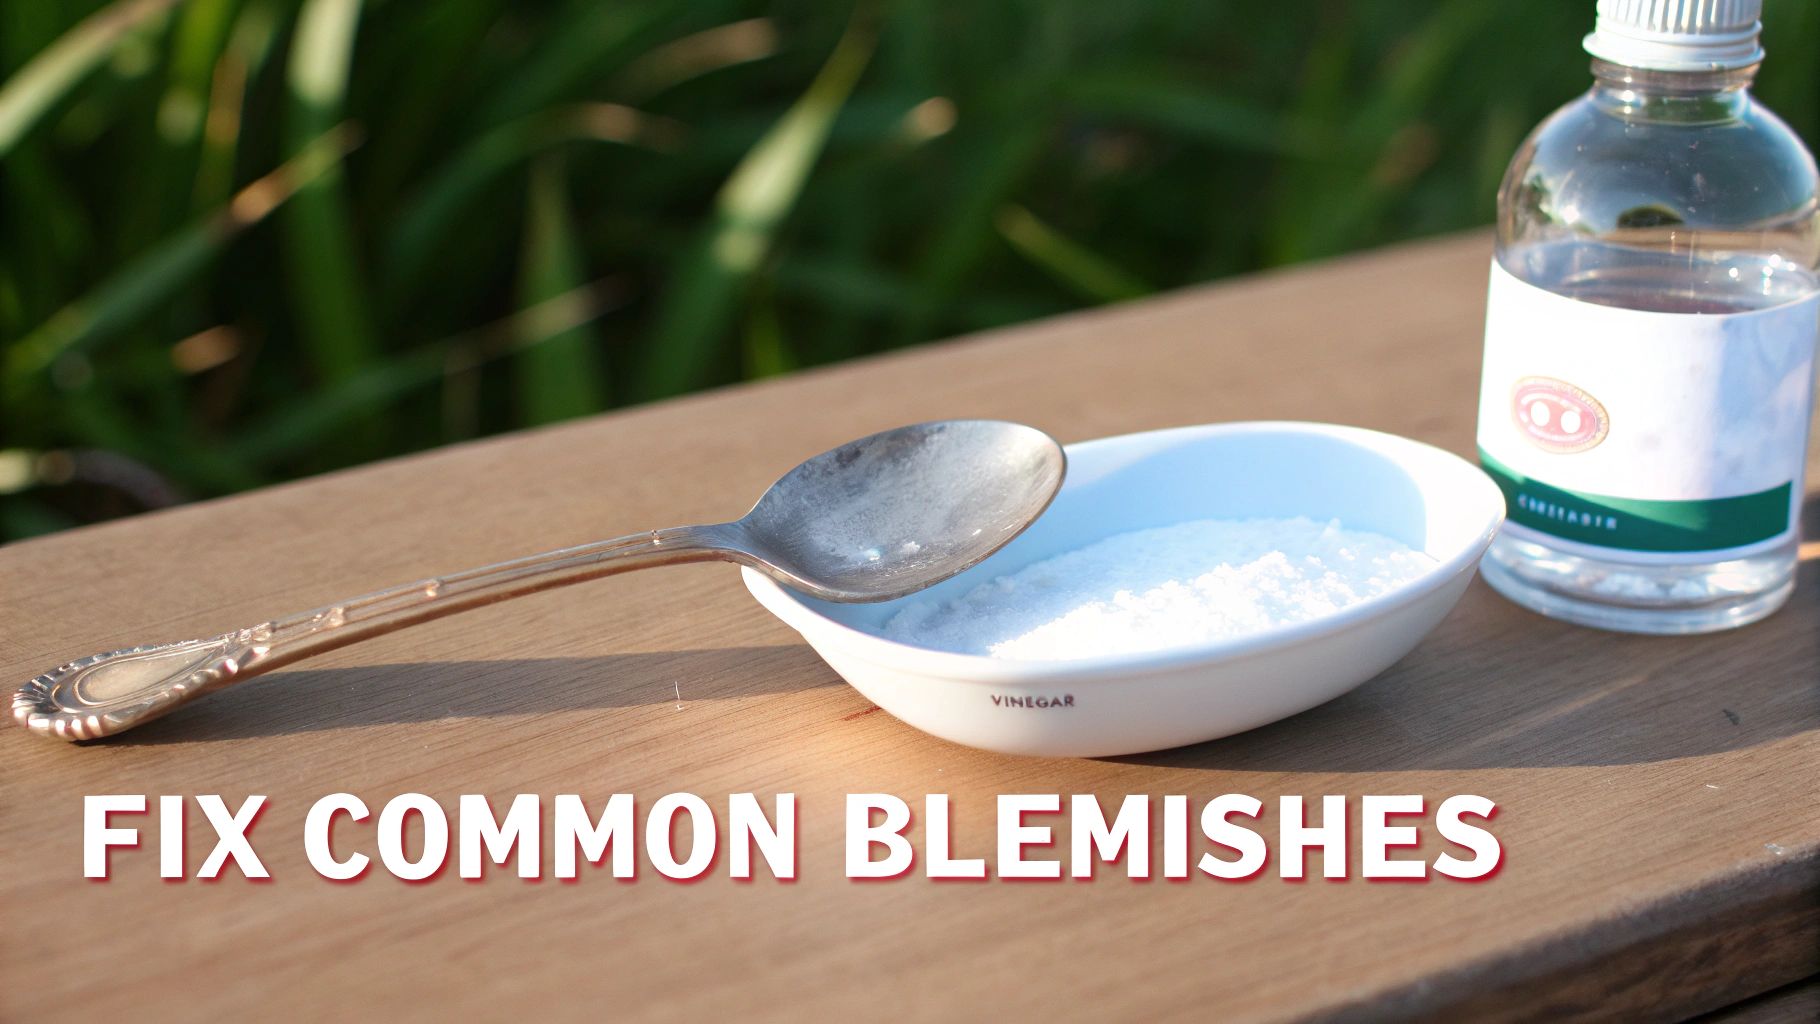
Even with the most careful handling, cutlery can sometimes pick up stubborn marks. From those cloudy water spots to the first whispers of rust, these little imperfections can really spoil an otherwise lovely table setting.
The good news is that most of these common issues are easy to sort out yourself, often with things you already have in the kitchen.
The golden rule is to always start with the gentlest method first. Reaching for harsh, abrasive cleaners is a surefire way to cause permanent scratches, so they should be kept well away from your good cutlery. Instead, it’s about a targeted approach, using non-abrasive materials to restore your pieces without harming their finish.
Think of it as spot-treating rather than a full-on polish – just identifying a specific problem and applying a direct, gentle fix.
Tackling Water Spots and Fingerprints
Hard water is the usual culprit behind those cloudy, chalky spots on stainless steel. These are just mineral deposits left behind as water evaporates, but they can make the cleanest cutlery look dull. Fingerprints, with their oily residue, can be just as frustrating.
For both problems, a simple solution is often the most effective. Just lightly dampen a clean microfibre cloth with white vinegar and gently wipe the affected areas. The vinegar's mild acidity is perfect for dissolving mineral deposits and cutting through oils without damaging the steel.
Afterwards, rinse the piece under clean water and – this is crucial – dry it immediately and thoroughly with a separate dry cloth. This stops new spots from forming right away and brings back that lovely clarity and shine.
Removing Stains and Minor Discolouration
More stubborn stains from things like tea or coffee can sometimes leave a faint mark on your cutlery. For these, you need something with a little more oomph, but still gentle. This is where a simple homemade paste works wonders.
A paste made from baking soda and a few drops of water is one of the most reliable tools for cutlery care. Its mild abrasive quality allows it to lift stains from the surface without scratching the steel itself.
Mix it into a thick paste, about the consistency of toothpaste. Apply a small amount to a soft cloth and rub the stained area gently, always moving with the grain of the steel. You don’t need much pressure; let the paste do the work. Rinse it thoroughly and dry it straight away to see how you've done.
Addressing the First Signs of Rust
While stainless steel is highly resistant to rust, it isn’t completely immune. You might occasionally see small orange or brown specks, especially on knife blades which often have a higher carbon content to keep a sharp edge. It’s important to deal with these spots as soon as you see them.
- First step: Apply a tiny amount of a non-abrasive cleaner or the same baking soda paste directly onto the rust spot.
- Gentle action: Using a soft cloth or even the end of a wine cork (it’s surprisingly effective!), rub the spot in a gentle circular motion.
- Rinse and check: Rinse the area well and dry it completely. If the spot is still there, you can repeat the process.
For anything more than very light surface spotting, it might be best to seek professional advice to avoid damaging the piece. And remember, prevention is always better than a cure. Making sure your cutlery is always bone dry before you put it away is the single best defence against rust.
Keeping That Shine with Proper Care and Storage
Your work doesn’t stop after that final buff. Getting a brilliant, mirror-like finish is one thing, but keeping it is all about what you do next. The steps you take for drying and storing your cutlery are just as important as the polishing itself.
The biggest enemy of a newly polished surface? Air-drying. Letting water droplets evaporate on the steel is the number one reason for dulling water spots and mineral deposits, which will undo all your hard work in a flash. That’s why immediate, careful hand-drying is absolutely essential to locking in the shine.
The Art of Perfect Drying
As soon as your cutlery is rinsed clean, it's time to act. Whether it’s just after a meal or a full polishing session, grab a soft, completely dry microfibre or cotton tea towel and gently dry each piece. Don’t just give it a quick wipe; make sure every part, especially between the tines of forks, is bone dry.
This simple, immediate action does more than just prevent spots. It removes any lingering moisture that could, over time, lead to tiny blemishes or even the first hint of rust on more susceptible pieces like knife blades. It’s a small habit that pays off hugely in preserving the finish.
Think of it this way: the stainless steel polish brings out the shine, but meticulous drying is what keeps it there. It's the final, protective step that seals your efforts against the elements.
Smart Storage to Prevent Scratches
How you store your gleaming cutlery makes a massive difference. Just tossing everything into a standard kitchen drawer is a recipe for scratches and scuffs as pieces inevitably knock against each other. For the best protection, you need a more organised approach.
- Felt-Lined Canteens: This is the gold standard for cutlery storage. These purpose-built boxes have individual slots that keep each piece separate, protecting them from scratches and dust.
- Cutlery Rolls: An excellent, space-saving option, especially for your best sets. Fabric rolls cushion each item, preventing any damaging contact.
- Drawer Dividers: If a standard drawer is your only option, invest in a good quality divider. Separate compartments for knives, forks, and spoons will minimise movement and friction.
A Sustainable Maintenance Routine
Maintaining that lovely shine doesn’t mean you need to break out the stainless steel polish every week. It’s about creating a balanced and realistic routine that works for you.
For everyday cutlery, a deep polish every two to three months is usually more than enough to keep it looking its best. The real secret is in the daily care: wash it properly and, crucially, dry it by hand immediately after each use.
For those special sets that see less action, a quick buff before and after you store them will ensure they’re always ready to impress. This simple approach keeps your tableware beautiful and preserves its value for years to come.
Common Questions About Polishing Stainless Steel
Even with the best instructions, a few questions always seem to come up. Fine-tuning your cutlery care often comes down to clearing up those little details. We've put together some of the queries we hear most often, with straightforward answers to help you polish with total confidence.
How Often Should I Polish Everyday Cutlery?
For the cutlery you use day in, day out, a full polish after every meal is definitely not necessary. Who has time for that? We find that giving your everyday set a proper polishing session every two to three months is just right. This is the perfect schedule to restore its lustre, buff out any fine surface marks, and keep it looking its best.
For those special sets that you keep for best, a great habit is to polish them just before you plan to use them, and again before they go back into storage. The most critical daily task, however, is simply proper washing and, most importantly, drying them by hand immediately.
Think of a stainless steel polish as a restorative treatment, not a daily chore. It’s for periodic maintenance that keeps your cutlery in heirloom condition, while daily drying prevents most problems before they even start.
Can I Use the Same Polish on Steel and Silver?
We would strongly advise against this. Different polishes are formulated for specific metals, and using the wrong one can cause real problems. Silver polish, for instance, contains ingredients designed to remove tarnish – a chemical reaction you only see on silver. These agents can be far too harsh for stainless steel, and might even dull or scratch the finish.
On the flip side, a stainless steel polish is made to tackle different kinds of blemishes and will do absolutely nothing for silver tarnish. Always stick to a product made for the specific material you're cleaning. It’s the only way to get the results you want and protect your investment.
Is It Safe to Use Abrasive Cleaners on Tough Stains?
Absolutely not. If there’s one golden rule of cutlery care, this is it. Abrasive cleaners, scouring pads, and steel wool will permanently scratch the surface of your stainless steel, ruining its beautiful finish for good.
If you come across a stubborn mark, always reach for non-abrasive methods first. A simple paste of baking soda and water, rubbed gently with a soft microfibre cloth, can work wonders. Just remember, patience and a gentle touch are the real secrets to keeping your cherished cutlery looking pristine for a lifetime.
At Lincoln House Cutlery, we believe proper care is the key to enjoying your fine tableware for generations. Explore our curated collections and care essentials to find everything you need for a brilliant table setting at https://www.cutlery.uk.com.